Candle Troubleshooting Guide
By Nadia Colbert, candle maker since 2014 · Updated
A candle that comes out wrong did not go wrong at random. Wax has a short list of habits, and nearly every defect you can see is one of those habits made visible. Beads of oil on the surface, a crack across the top, a grey film inside the glass, a flame swimming in a deep pool: each has a cause you can name and a correction you can apply on the next pour. This guide is arranged by what you can see, so you can start from the candle in front of you.
In this guide
Read the candle first — two questions that narrow any defect.
Sweating — beads of oil, and the load behind them.
Cracks across the top — a cooling problem.
Soot and a mushrooming wick — too much fuel at the flame.
Tunneling — one sentence, then where the answer lives.
Wax lifting off the wall — contraction, not failure.
A flame that drowns — when the pool beats the wick.
The symptom table — every defect and its fix.
Read the Candle Before You Change Anything
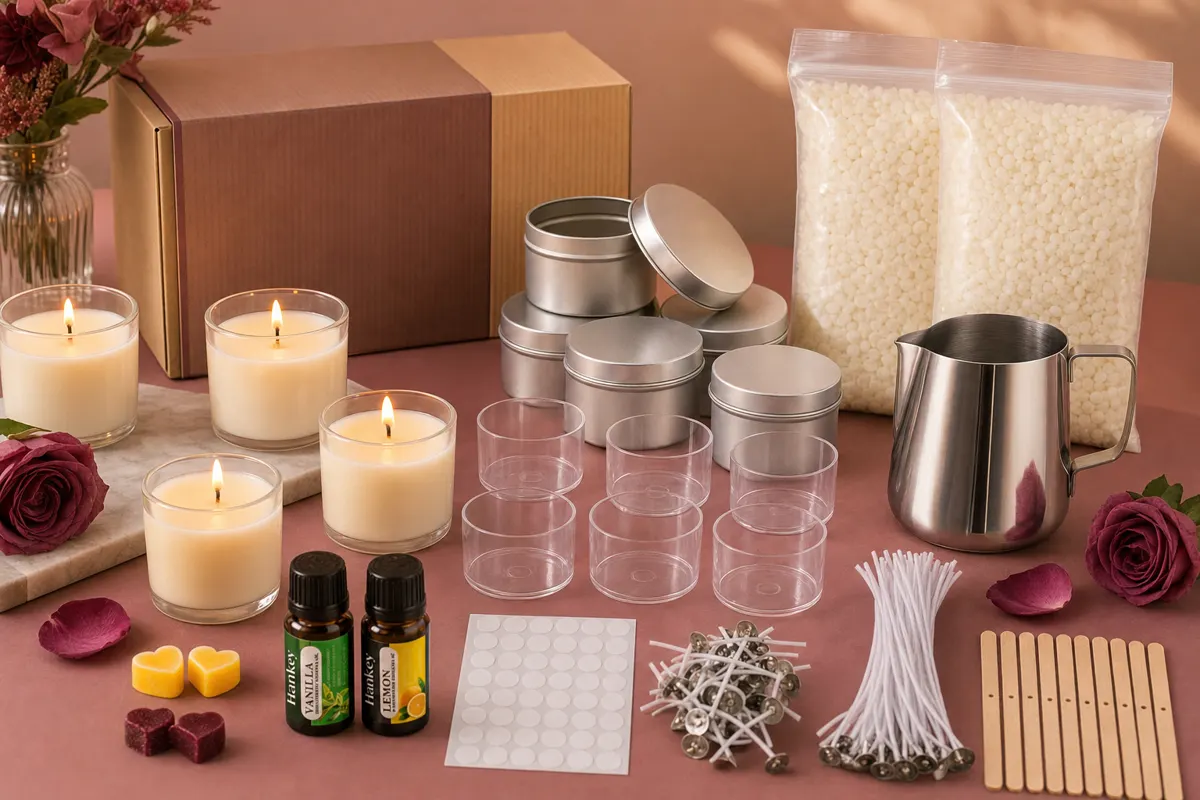
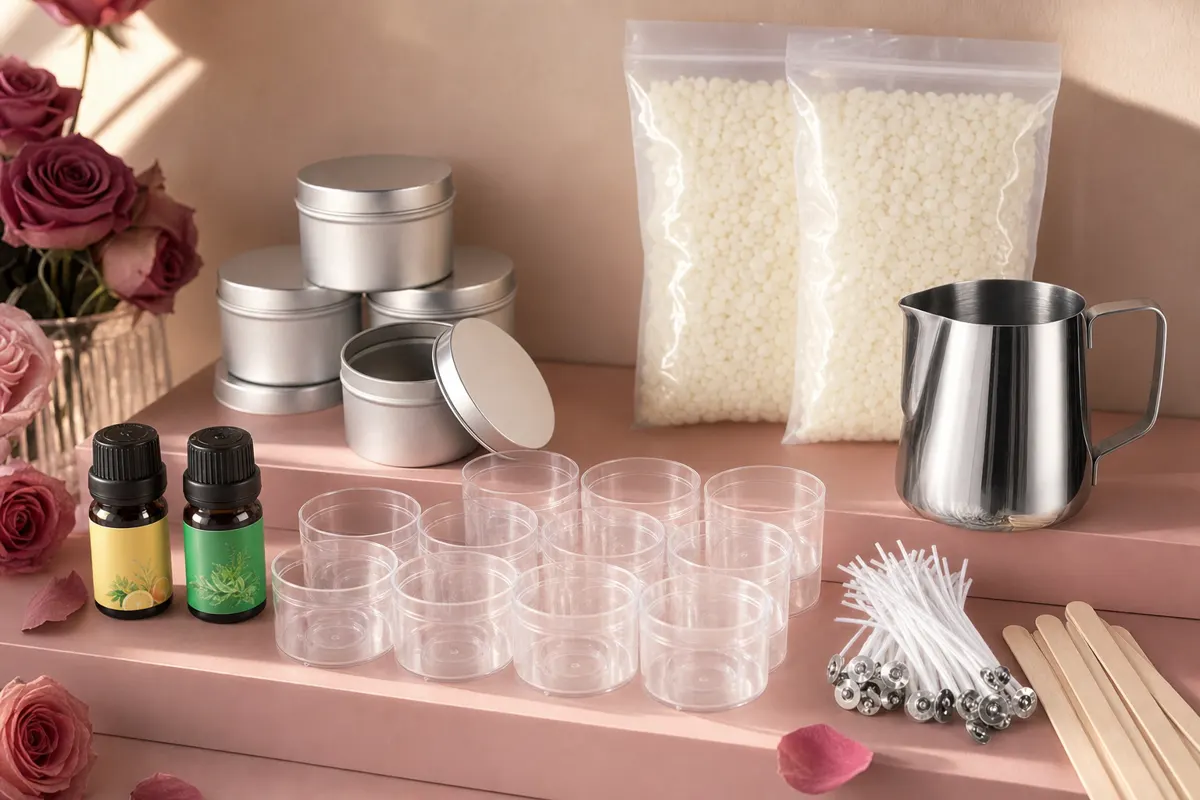
Timing sorts most problems immediately: cracks, dips and patches at the wall are decided in the minutes after the pour, while soot, tunneling and a drowning flame are decided by the wick and container together. Then keep notes, one index card per batch. Fourteen containers and seventy wicks mean your first candles can be experiments rather than precious objects.
Sweating: Beads of Oil on the Surface
Wax holds fragrance the way a sponge holds water: willingly up to a point, and past it gives the rest back. The excess stays in suspension until warmth disturbs it, then surfaces as beads that feel slick. Container soy waxes are generally formulated to hold around 6 to 10 percent fragrance by weight, and most makers settle near the middle, because wax cannot carry what it cannot bind. Turning a percentage into an oil weight is worked through in the candle fragrance oil guide.
Storage is the second contributor: a candle on a sunny windowsill softens and resets daily, and each cycle lets more oil migrate. On the candle you already have, wipe the surface and let it be; the beads are surplus fragrance, and it burns normally once dry. On the next pour, drop the percentage a point or two, stir longer, and store somewhere stable. The two oils in the kit make this quick to test: pour one container at your usual percentage and one lower, then compare the cured surfaces.
Cracks and Splits Across the Top
Wax shrinks as it turns from liquid to solid, and the only question is whether it happens evenly. Chill the outside first and it hardens into a crust while the interior is still shrinking underneath, and something has to give. The culprits are environmental rather than recipe-based: a cold container, a draught from a window, or moving the candles while they set.
Wax grade plays a smaller part worth knowing. Pillar grades shrink hard and pull cleanly from a mould, the opposite of what you want inside a jar, where that same wax clings to the glass and often cracks. The kit ships soy formulated for containers, the forgiving end of this spectrum, and the families are compared in the candle wax types guide. Correcting a crack costs nothing but patience, because soy is fully reworkable. If it is shallow, reserve a little wax, warm it, and pour a thin second layer to level the top.
Soot on the Glass and a Mushrooming Wick
A flame burns vapour, not solid wax. When more fuel arrives than it can process, the surplus leaves as unburned carbon: some settles on the glass as a grey film, some collects at the tip as the bulb makers call mushrooming. The most frequent cause has nothing to do with the recipe. An untrimmed wick carries more fuel and burns dirtier, and each burn worsens it as the carbon ball feeds itself.
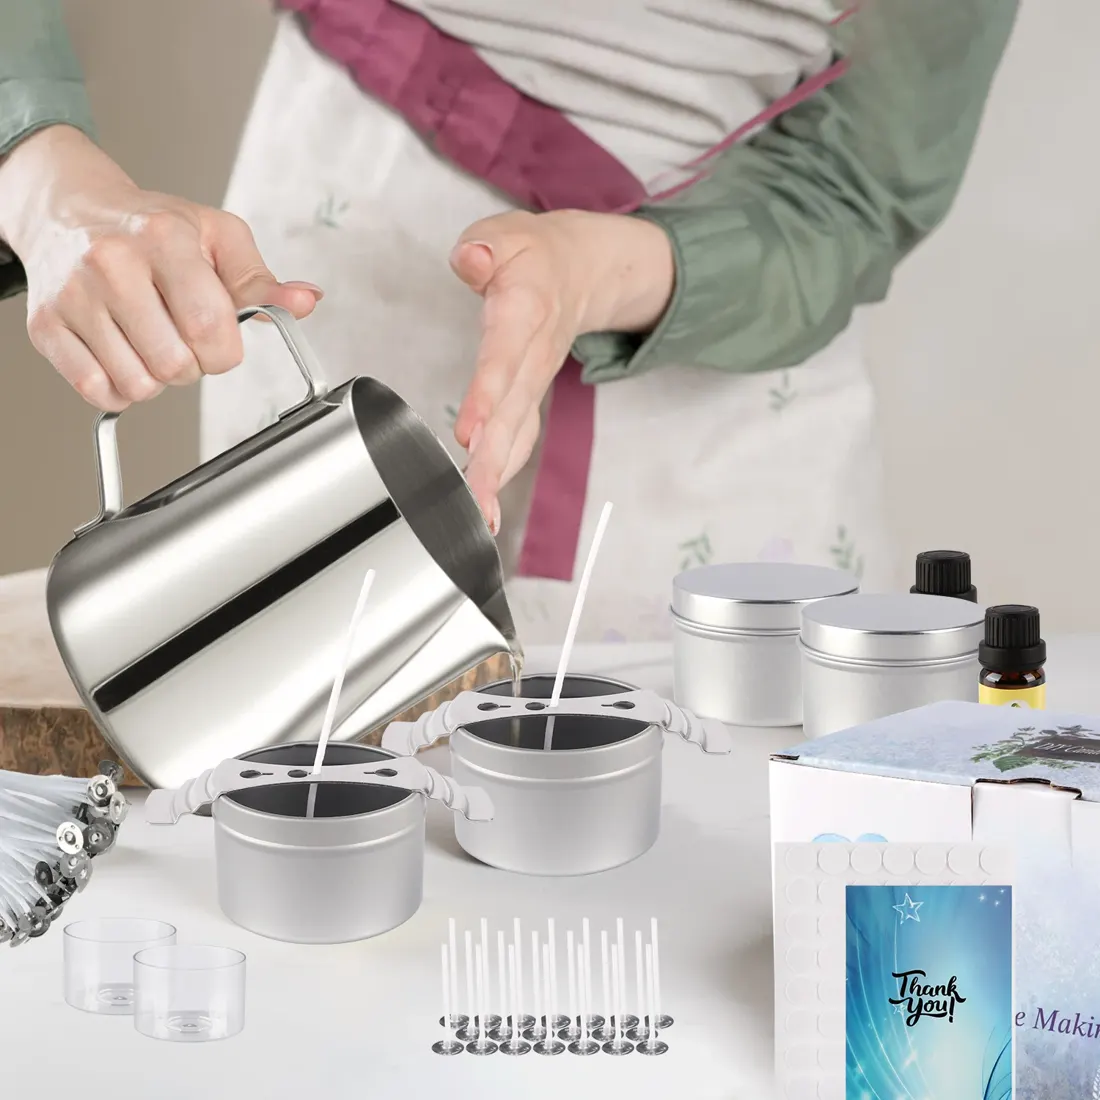
Draughts are the second cause, because a flame pushed sideways cannot form a stable combustion zone and throws soot in pulses. If a trimmed wick in a still room still soots, the supply itself is too generous, and there are two levers. The first is fragrance load, since oil is fuel, which the sweating section covers. The second is the wick: move down one step and pour a fresh test candle. Seventy wicks is a deliberate margin, and it lets you make this adjustment without rationing.
Tunneling, in One Sentence
Both corrections follow from that cause. Give the first burn of a new candle enough uninterrupted time for the melt pool to reach the wall, since wax has a memory of that first pool and follows it for the rest of the candle's life. If a full first burn still leaves a rim, the wick is the variable, and you step up a size from the spares.
Beyond that, tunneling deserves more room than a troubleshooting entry can give it, because the fix depends on the relationship between wick diameter and container width. That relationship, the numbering systems, and the four-hour test burn that settles the question are covered in the candle wick size guide. If tunneling is what brought you here, read that guide next.
Wax Pulling Away From the Wall
These two worry beginners far more than they deserve to. Wet spots are the same contraction behind cracks and sinkholes, showing at the wall instead of the surface: as the wax cools it pulls inward, and wherever it loses contact you see a patch that looks damp. Frosting is the wax recrystallising, which vegetable waxes do naturally.
Neither affects the burn. A candle covered in wet spots lights, pools and scents exactly like a flawless one, and among experienced makers frosting reads as a marker of natural soy rather than a defect. If the look matters to you, the four metal tins conceal both completely, which makes them the place to start while you dial in your cooling. The full set of soy behaviours, sinkholes and rough tops included, is in how to make soy candles, and the pouring sequence is in how to make candles at home.
A Flame That Drowns or Will Not Stay Lit
Drowning is the mirror image of sooting: the flame is too small for the wax it sits in. The pool deepens, liquid rises around the wick and eventually swamps it, so the candle looks as though it is going out while technically still lit. Three things produce it: an undersized wick, a wick trimmed too short to sustain a full flame, and a container filled to the brim that hands the flame a deep pool from its first minute.
The correction is a size up from the spares and a fresh test candle. The containers here make that a short experiment, since both are narrow: the tins measure 2.36 inches across by 1.57 inches tall and the jars 1.54 by 0.98 inches, and narrow vessels are the easiest case a wick has to handle. Work out how much wax each needs with the water test, which the wick size guide sets out with worked numbers.
The Symptom Table, and the One-Change Rule
| What you see | When it appears | Cause | What to change next time |
|---|---|---|---|
| Oily beads on the surface | After curing | Fragrance load above what the wax binds | Lower the percentage, stir longer, store somewhere stable |
| Crack across the top | While cooling | Cooled too fast or unevenly | Room-temperature containers, warm still room, no moving |
| Grey film on the glass | While burning | More fuel than the flame can burn cleanly | Trim to a quarter inch, remove draughts, step down a wick |
| Carbon ball at the wick tip | While burning | Untrimmed wick carrying surplus fuel | Trim before every lighting |
| Narrow shaft down the middle | While burning | Wick undersized, or first burn cut short | Full first burn, then a larger wick |
| Patches lifted off the glass | While cooling | Normal contraction of natural soy | Cosmetic only; cool more slowly if the look matters |
| Pale bloom on the surface | Days after pouring | Natural recrystallisation of soy | Cosmetic only; steadier storage temperature |
| Small flame in a deep pool | While burning | Wick undersized for the wax volume | Larger wick, leave pour headroom, trim to a quarter inch |
Container soy waxes are commonly described as melting somewhere in the 115 to 135°F range (46 to 57°C), but your kit ships with a user manual, and the figure printed there for your wax outranks any general range, including this one.
What should be reassuring is how short the list of causes is. Eight visible symptoms resolve to three variables, and each is adjustable with what is already in the box, so a defect costs you one test candle rather than a shopping trip. Soy is reworkable besides: a candle you are unhappy with goes back into the pitcher and comes out again as a better one. Change one thing, pour again, and two or three deliberate tests settle a container style permanently. What buyers said about their first batches is on the reviews page, and the soy version of this workflow starts at the soy candle making kit page. The kit sells for $49.95, down from $69.95, with free shipping, delivery in 6 to 10 business days, and a 30 day guarantee.